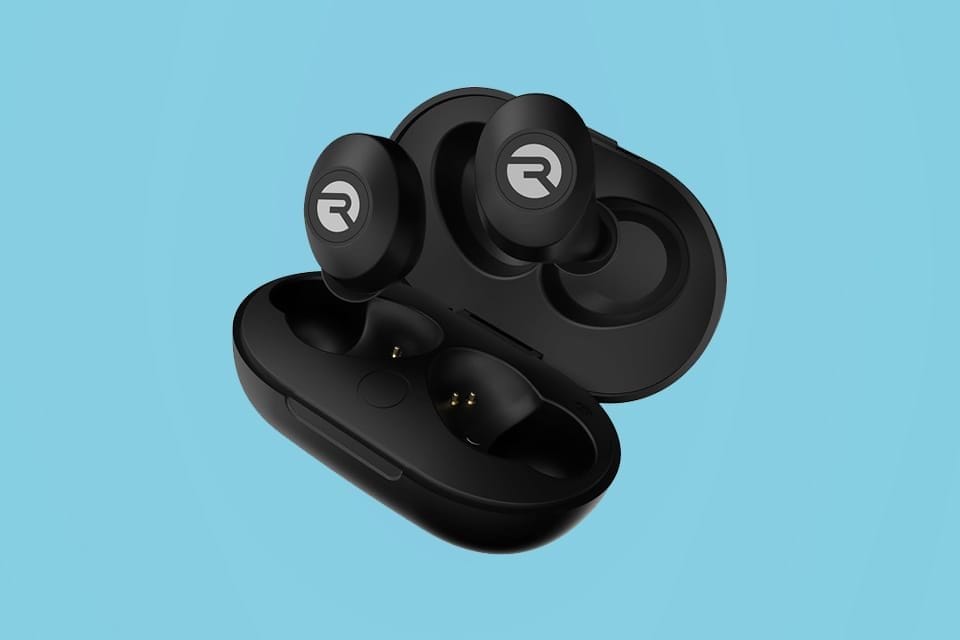
Raycon Earbuds Won’t Charge? Guide to Fix It
There’s no worse feeling than going to use your beloved Raycon wireless earbuds only to discover they won’t take a charge. Trust me, I’ve been there. Instead of immediately giving up in frustration, tackle the issue systematically with this step-by-step troubleshooting guide. With some patience and the right fixes, you can revive those earbuds!
Why Do Raycon Earbuds Stop Charging?
Before we dig into solutions, it’s helpful to understand the common culprits behind Raycon charging failures:
- Dirty charging pins due to dust and debris buildup
- Software bugs or firmware glitches
- A depleted or defective lithium-ion earbud battery
- Failed charging circuitry inside the case
Narrowing down the root cause will determine the ideal fix. No matter what, keep your expectations realistic—not every issue will be resolvable with DIY troubleshooting.
Ensure a Solid Earbud Contact Charge
The first step is always to give those charging pins and case insides a meticulous cleaning. Gunk accumulation is the low-hanging fruit that’s often overlooked.
What You’ll Need:
- Microfiber cloths
- 70% or higher isopropyl rubbing alcohol
- Small brush or unused toothbrush
- Cotton swabs
Cleaning Raycon Charging Ports:
- Use a dry microfiber cloth to wipe away visible dirt and debris
- Dampen a cotton swab with alcohol and scrub the charging pins
- Insert a small brush into the case ports to dislodge caked-on grime
- Finish by wiping everything down with a clean cloth corner
- Allow 10 minutes to fully air dry before inserting earbuds
The key is being thorough but extremely gentle. Avoid excessive force which could damage delicate components.
Time to Reset and Update
With clean charging surfaces, the next step is to force restart both your earbuds and charging case. Here’s a simple power cycle process:
- Place both buds inside closed charging case
- Press and hold case button for 10 full seconds
- Release button and wait 60 seconds before opening lid
- Leave earbuds inside case for 1-2 minutes to complete reset
- Remove earbuds and test charging
After a reset, make sure you check for any available firmware updates through the Raycon app. Software patches often address quirky bugs.
Finally, a factory reset using the tiny earbud pinhole buttons should only be attempted as a last resort. You’ll lose all pairing data.
When DIY Repairs Aren’t Enough
Unfortunately, some earbud charging issues simply can’t be resolved at home. Allow me to save you some headaches.
If your Raycon earbuds or case exhibit any of the following, warranty replacement is likely needed:
- Visible damage or liquid ingress
- Battery noticeably swollen or bloating case
- No power at all, even when plugged into USB
- Over 1 year old
Before requesting a replacement, make sure you’ve updated to the newest app and firmware versions as a final troubleshooting step.
Extend Those Raycon Earbud Lifespans
To keep your earbuds working optimally and avoid preventable charging issues, stick to these battery health tips:
- Always store earbuds inside the case between uses
- Minimize exposures to very hot or cold temperatures
- Regularly clean contacts with gentle pressure
- Install software updates promptly
- Replace overworked batteries every 1-2 years
With diligent care and a little DIY troubleshooting know-how, Raycon owners can maximize the lifespan of these feature-packed true wireless earbuds. Let me know if you have any other audio accessory questions!
FAQs
- What are some common reasons why Raycon earbuds stop charging?
Some of the most common culprits are dirty charging pins, software glitches, depleted batteries, and failed charging circuitry inside the case. Narrowing down the root cause helps determine the best fix.
- How do you clean Raycon earbud charging pins and ports?
Use a microfiber cloth to wipe away debris, then dampen a cotton swab with 70% isopropyl alcohol to gently scrub the pins. A small brush can dislodge dirt in the case ports. Allow 10 minutes to fully air dry before charging again.
- What troubleshooting steps should you take before attempting a factory reset?
First thoroughly clean the contacts, attempt a device restart, check for firmware updates through the Raycon app, and install any available patches. A factory reset using the earbud pinhole buttons should be the absolute last resort.
- When should you request a warranty replacement for Raycon earbuds?
Visible damage, severe swelling, complete power failures, or units over a year old that aren’t revived after cleaning, resetting, and updating are good indicators it’s time to seek a warranty replacement.
- What are some tips to extend the lifespan of Raycon wireless earbuds?
Store in the charging case, avoid temperature extremes, gently clean pins regularly, promptly install updates, and plan for a battery replacement every 1-2 years of use. Proper care prevents many charging issues.


